How To Acquire Average waveforms from DS1000 Scopes
Related to these models or series: D1000B/CA/D/E
Series B and CA include the ability in the firmware. RIGOL’s UltraScope works with Series D/E
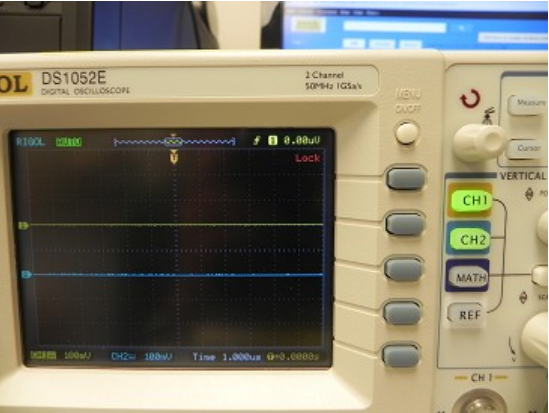
Rigol scopes can be configured to display the result of averaging several (as many as 256) waveforms. This feature provides an opportunity to study the signal of interest without the distraction of other signals. Note: The averaging capability is available when the sweep time is 20 ms or less!
Unlike the DS1000CB and DS1000B series, the DS1000E, and the D1000D Series will only write the most recently acquired waveform to the front panel USB stick. This note describes a method to capture averaged waveforms from either the E or D series when they are connected to a computer with the USB bus.
Ultrascope Rigol's virtual oscilloscope application, Ultrascope, provides a method of importing scope screens to a computer and potentially to an Excel spreadsheet. Ultrascope can be downloaded from http://www.rigolna.com/products/digital-oscilloscopes/ds1000e/ and opens like:

In order to start the data transfer between the scope and the computer, Ultrascope needs to be connected to the computer. Highlight the Tools Menu and Click the Connect to Oscilloscope Prompt
If multiple drivers are on the computer, you'll want to select the USB Resource.

Once the Scope is connected and the appropriate Resource selected, it's time to Add a New Data Tab.

The Refresh button on this screen, toggles data transfer on and off.

Once the Refresh button is enabled the data column updates periodically. Also note that only a single channel can be transferred at a time!
Controlling the Scope's operational parameters
The operational parameters of the scope can be set from the Control Panel at the lower edge of the application screen

Among other things the control panel can establish which channels can be displayed on the scope. Once the parameters of the control panel have been set, they can be DOWNLOADED from the computer to the scope. When both channels are enabled, the Data Tab can record data from either channel (but NOT from both simultaneously).
Once the data has been written to the New Data Tab, the Export button displays the typical Windows file menu to define the name and location of a TAB delimited EXCEL compatible file.


